


Finding out your data may have been exposed in a cyberattack is unsettling. The instinct for many people is to wait and see whether anything actually happens.
That instinct is wrong. And it is exactly what attackers count on.
When personal data is exposed in a breach, the window between exposure and exploitation can be short. Attackers move quickly.
The steps you take in the first hours and days after learning about a breach have a direct impact on how much damage you experience.
This is a complete, practical guide to what you should do if your data has been or may have been exposed, including what to prioritize, what to watch for, and how to protect yourself going forward.
Organizations building stronger breach response processes should evaluate proactive cybersecurity services, incident response planning, and identity protection controls before an exposure event occurs.
Step 1: Do Not Wait for Confirmation
The first mistake most people make after a breach notification is waiting for more information before acting.
Breach investigations take time. In many cases, the full scope of what was accessed is not determined for weeks or months.
By the time a company confirms your specific data was exposed, attackers may have already used it.
If you are notified of a breach involving a platform you use, or if you become aware of a breach affecting a service holding your data, act immediately.
Do not wait for a confirmation letter or an official notification naming you specifically.
Businesses responding to exposure events should also review incident response services and business continuity planning.
Step 2: Change Passwords Immediately
Start with the breached platform and work outward.
Cybersecurity expert James Turgal was clear about the priority: “Immediately change your passwords on all your email addresses, online banking, any of those.”
Priority order for password changes:
- The platform directly affected by the breach
- Your primary email account
- Any other account using the same or similar password
- Banking and financial accounts
- Work accounts and company systems
- All remaining accounts sharing reused credentials
Use a unique, strong password for every account moving forward.
If you are reusing passwords across platforms, a single breach can cascade into multiple account takeovers.
Organizations improving credential security should evaluate multi-factor authentication solutions and security awareness training.
Step 3: Enable Multi-Factor Authentication
If MFA is not already active on your accounts, a breach notification is the moment to fix that.
Matt Rosenthal, CEO of Mindcore Technologies, is direct:
“You’ve got to turn that on for every single account that you have. It should be your email, the banks, the credit cards. If you don’t have that turned on, you’re literally asking for a problem.”
Even if attackers obtain your password from a future breach, MFA prevents them from using it.
Start with your email account, then financial accounts, work systems, and everything else.
Businesses modernizing access security should also explore Zero Trust security models and secure workspace architecture.
Step 4: Freeze Your Credit
If the breach involved personal identifying information such as your name, address, date of birth, Social Security number, or government ID, place a credit freeze with all three major credit bureaus immediately.
A credit freeze prevents new credit accounts from being opened in your name.
It does not affect your existing accounts or your credit score.
It is free and remains one of the strongest protections against identity theft after a breach.
Turgal recommended this explicitly: “If they’ve got credit cards, I’m freezing those credit cards and freezing their credit reports.”
To place a credit freeze, contact each major credit bureau directly and verify your identity.
The freeze remains active until you remove it.
Step 5: Monitor Your Financial Accounts
Review your bank statements, credit card activity, and investment accounts for transactions you do not recognize.
Do not rely on monthly statements. Log in directly and review recent activity immediately.
Enable real-time transaction alerts on all financial accounts whenever possible.
What to look for:
- Small test charges used to verify stolen cards
- Unfamiliar merchant names or transaction locations
- Transfers or withdrawals you did not initiate
- New accounts or lines of credit you did not open
If you notice anything suspicious, contact your financial institution immediately.
Organizations handling financial or regulated data should review cybersecurity compliance services and network security monitoring.
Step 6: Check Your Credit Report
Pull your credit report from all three major credit bureaus and review it carefully.
Look for:
- Accounts you did not open
- Hard credit inquiries you do not recognize
- Incorrect addresses or employers
- Negative items that should not exist
If you identify suspicious activity, file disputes with the credit bureaus and contact the associated creditors immediately.
Step 7: Watch for Follow-Up Phishing Attacks
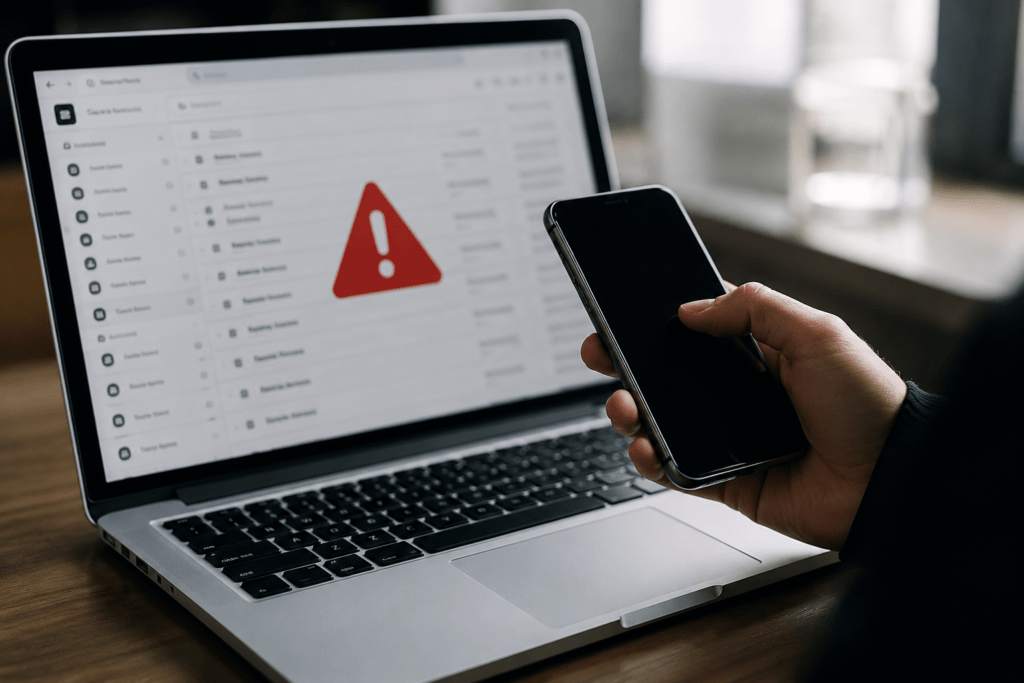
One of the most common patterns following a high-profile breach is a wave of targeted phishing attacks using the breach as cover.
Attackers often impersonate:
- The breached company
- Credit monitoring services
- Government agencies
- Law firms handling settlement claims
These attacks are designed to capture more information or install malware on devices belonging to already concerned victims.
Signs of a post-breach phishing attempt include:
- Unexpected offers for breach compensation or identity protection
- Requests to verify personal information
- Links directing you to login forms
- Urgent language demanding immediate action
Do not click links in unsolicited emails about the breach.
Go directly to the organization’s verified website or call through an official number.
Businesses reducing phishing exposure should also implement phishing awareness programs and managed security services.
Step 8: Consider Identity Theft Protection
For significant breaches involving Social Security numbers, financial records, or complete personal profiles, identity theft protection services provide additional monitoring and recovery assistance.
These services may include:
- Dark web monitoring
- Breach database alerts
- Credit monitoring
- Identity recovery support
Many organizations affected by breaches offer free monitoring services as part of their response.
If available, enroll immediately.
Step 9: Notify Your IT or Security Team If You Use a Work Account
If the breached account is connected to your workplace in any way, notify your IT or security team immediately.
This includes:
- Personal email accounts used for work communication
- Work credentials exposed through another platform
- Breaches involving platforms accessed from work devices
Do not self-manage work-related exposure.
Early reporting helps security teams contain lateral movement and assess whether the organization itself may be affected.
Organizations improving response readiness should evaluate virtual CISO consulting and co-managed IT services.
Ongoing Steps After a Breach
The immediate response addresses urgent risk. These ongoing practices reduce long-term exposure:
- Review account access and connected applications – Remove third-party integrations you no longer use
- Update security questions – Especially if personal data was exposed
- Check for account takeovers – Review recent login history for unfamiliar activity
- Maintain credit monitoring – Identity theft can occur months after exposure
Organizations building stronger long-term resilience should also evaluate managed IT services and penetration testing services.
FAQ: Data Breach Response
How do I know if my data was included in a breach?
Companies are often legally required to notify affected individuals after a breach. However, investigations take time, so if you know a platform you use was breached, assume possible exposure and act immediately.
How long do I need to monitor my accounts after a breach?
Continue monitoring accounts and credit reports for at least 12 months after a significant breach. Some forms of identity theft occur long after the initial exposure.
What is the difference between a credit freeze and a credit lock?
A credit freeze is a federally protected consumer right and is free to use. A credit lock provides similar protection but operates under the credit bureau’s commercial terms rather than federal law.
Should I pay for identity theft protection after a breach?
For breaches involving Social Security numbers, financial information, or detailed personal profiles, professional identity theft monitoring can provide meaningful additional protection and recovery assistance.
The Bottom Line
A data breach is not something you wait out. It is something you respond to.
The window between exposure and exploitation is short. The steps in this guide, taken quickly and thoroughly, close the most significant risk vectors before attackers can use what they have.
Mindcore Technologies helps organizations build breach response programs defining exactly what to do, who is responsible, and how to communicate when an incident occurs.
For individuals, the steps above provide a practical playbook for protecting yourself after any exposure event.
If your organization does not have a tested incident response plan, building one before a breach happens is significantly less costly than building one during an active incident.
Schedule a consultation with Mindcore to evaluate your incident response readiness, strengthen breach recovery planning, and improve organizational resilience before the next exposure event occurs.

